The Groups Page
The first thing you see when you log in is the groups page. This is where you select the group you would like to open, create a new group, or join a public group.
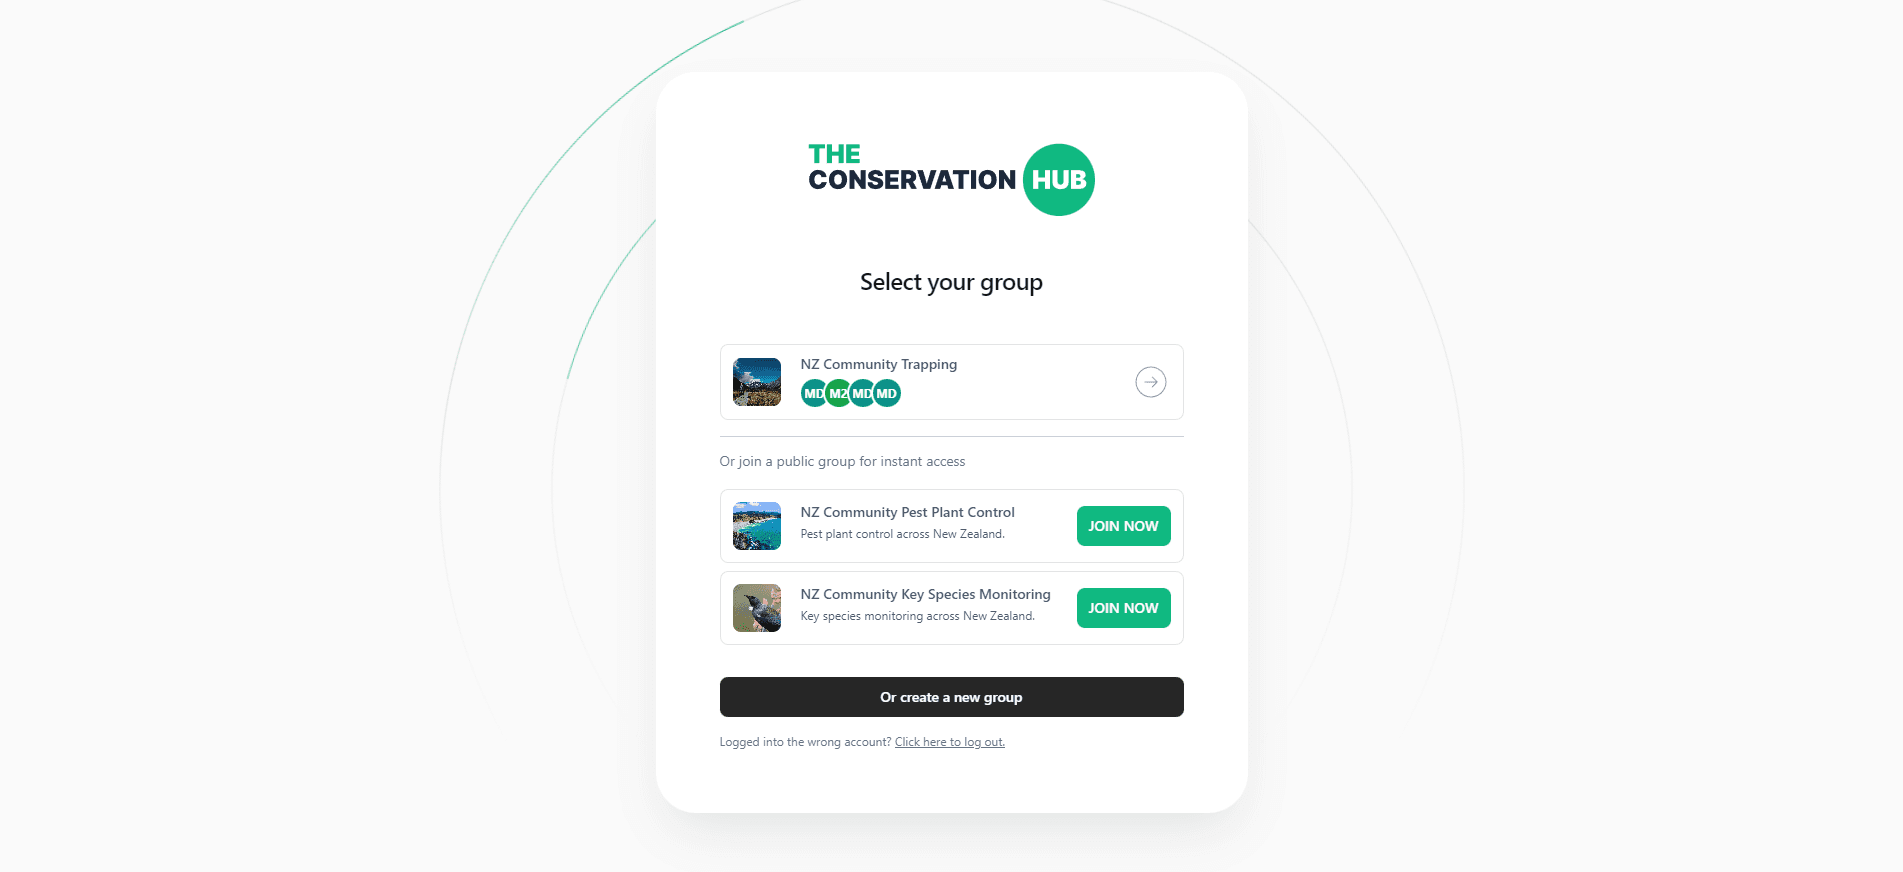
What is a group? A group is an entity which has ownership over the projects and spots associated with it. Each group has a unique listing managed by group admins.
Selecting a group
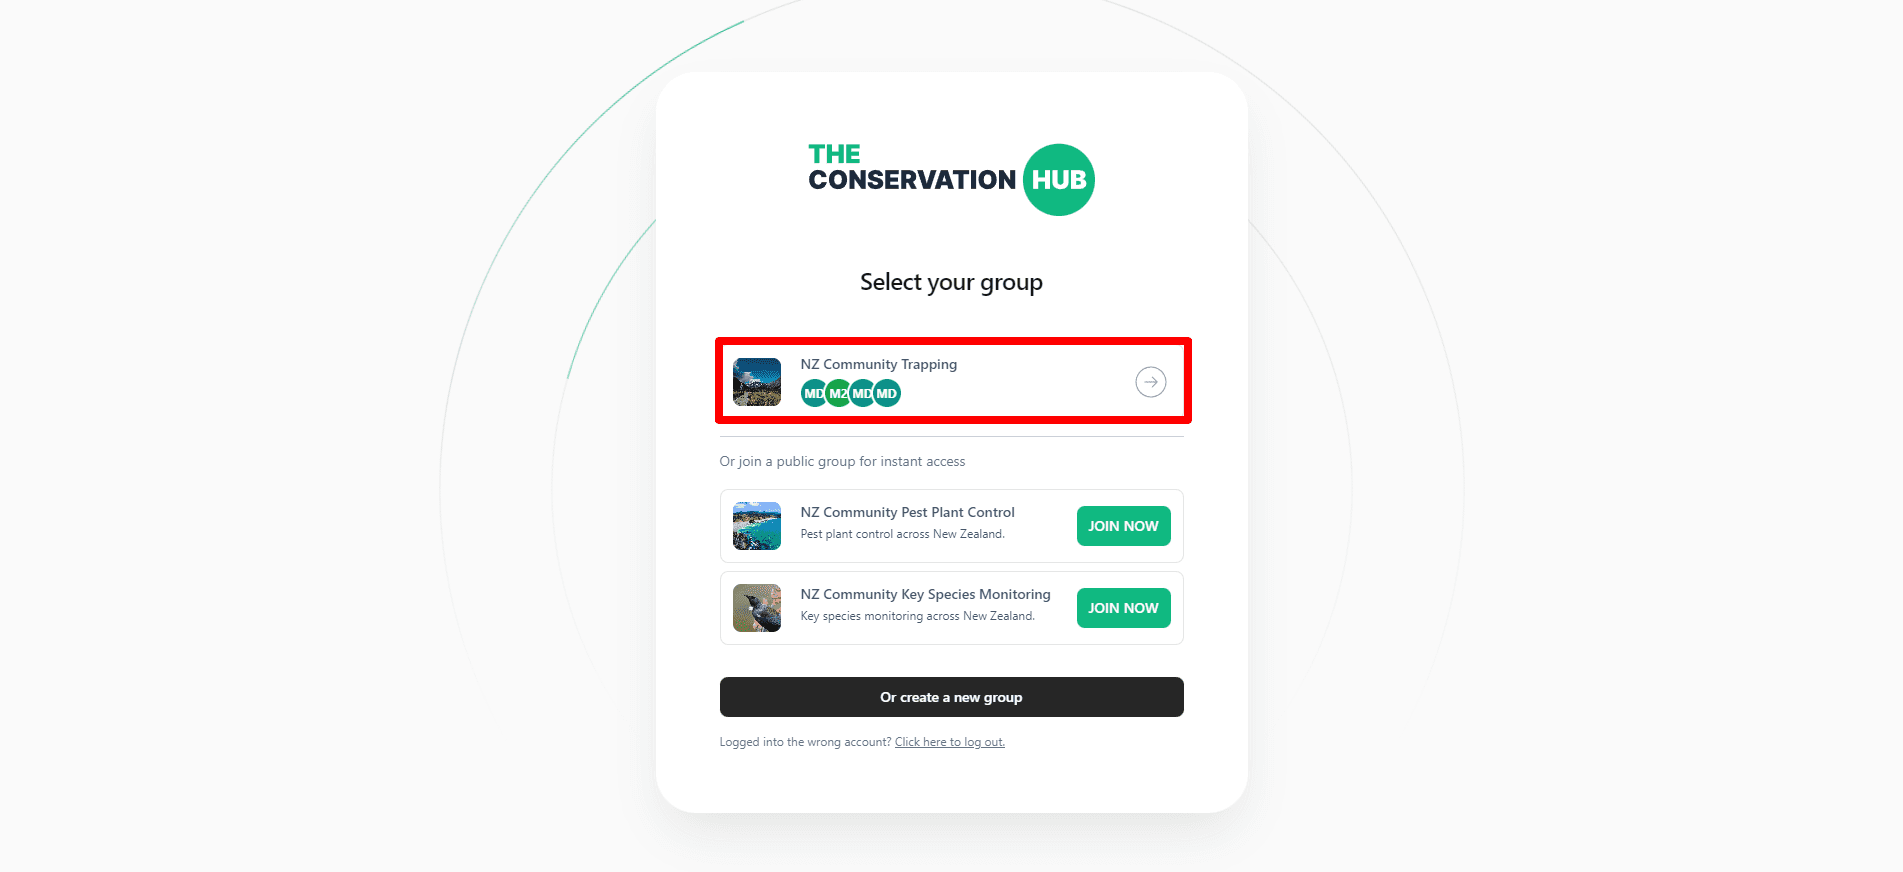
If you can see the group you would like to access on the groups screen, that means you have already been added as an administrator or user to the group. Click on the group in the list to open it.
Changing groups
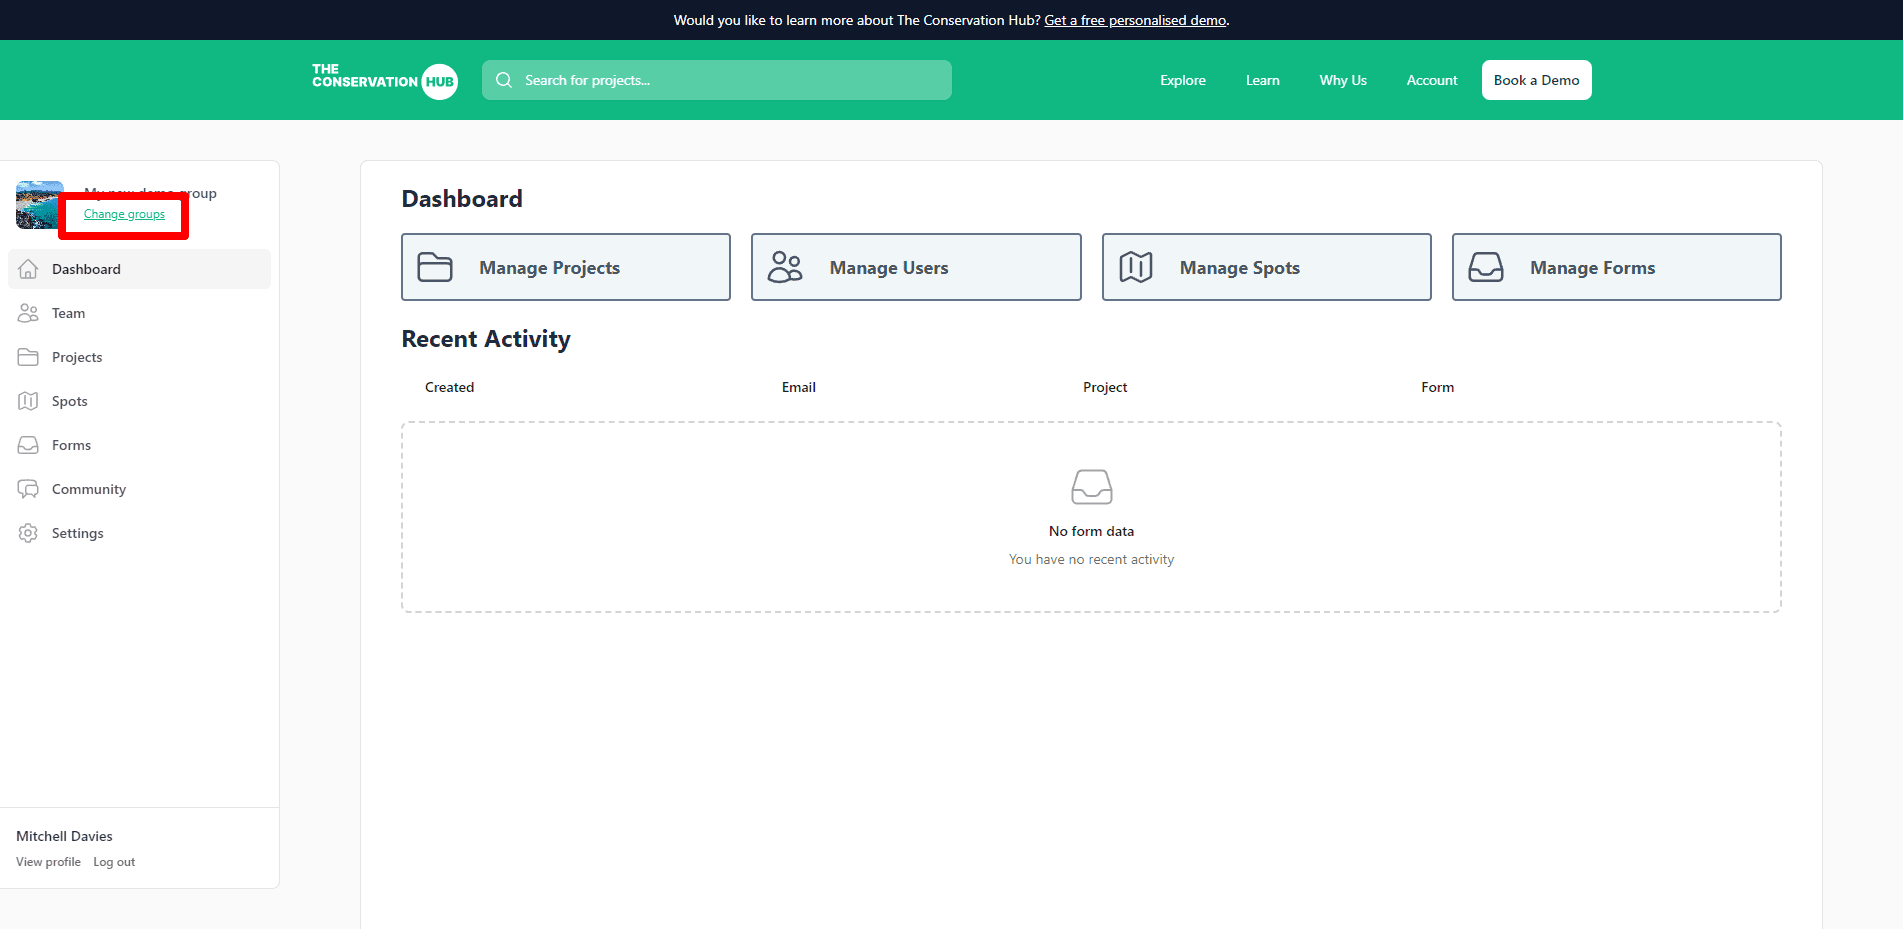
To change which group you have selected, in the left sidebar below the group name, click Change groups
Joining an existing group or project
Joining a project
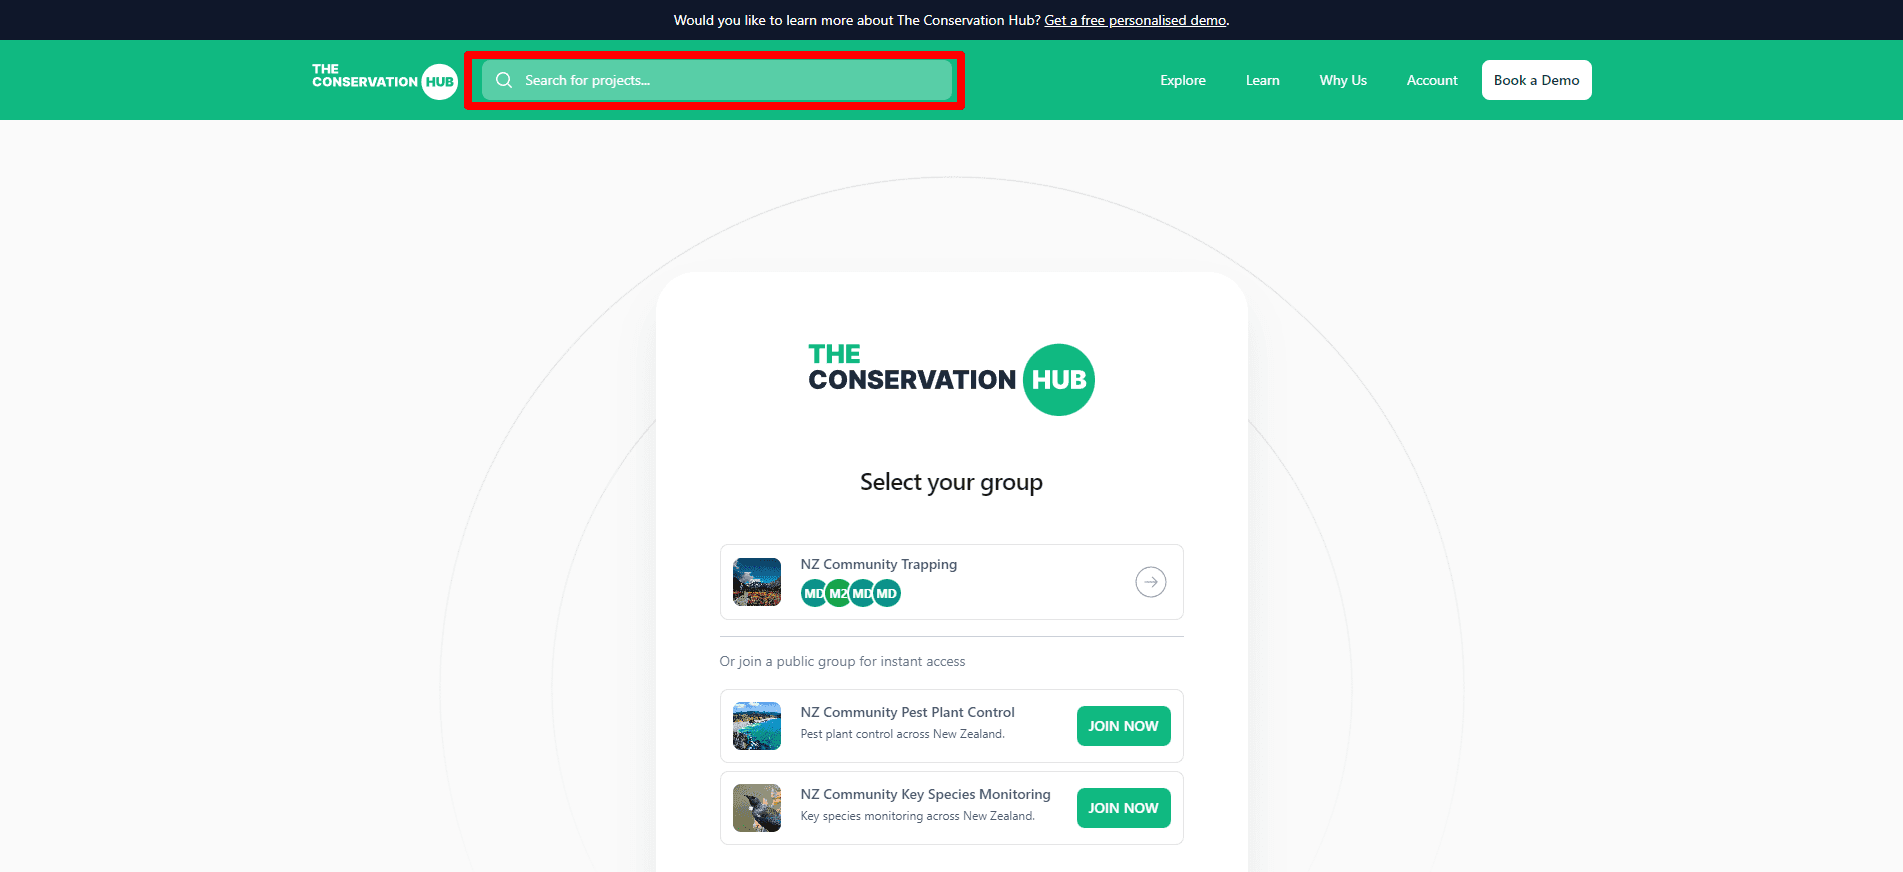
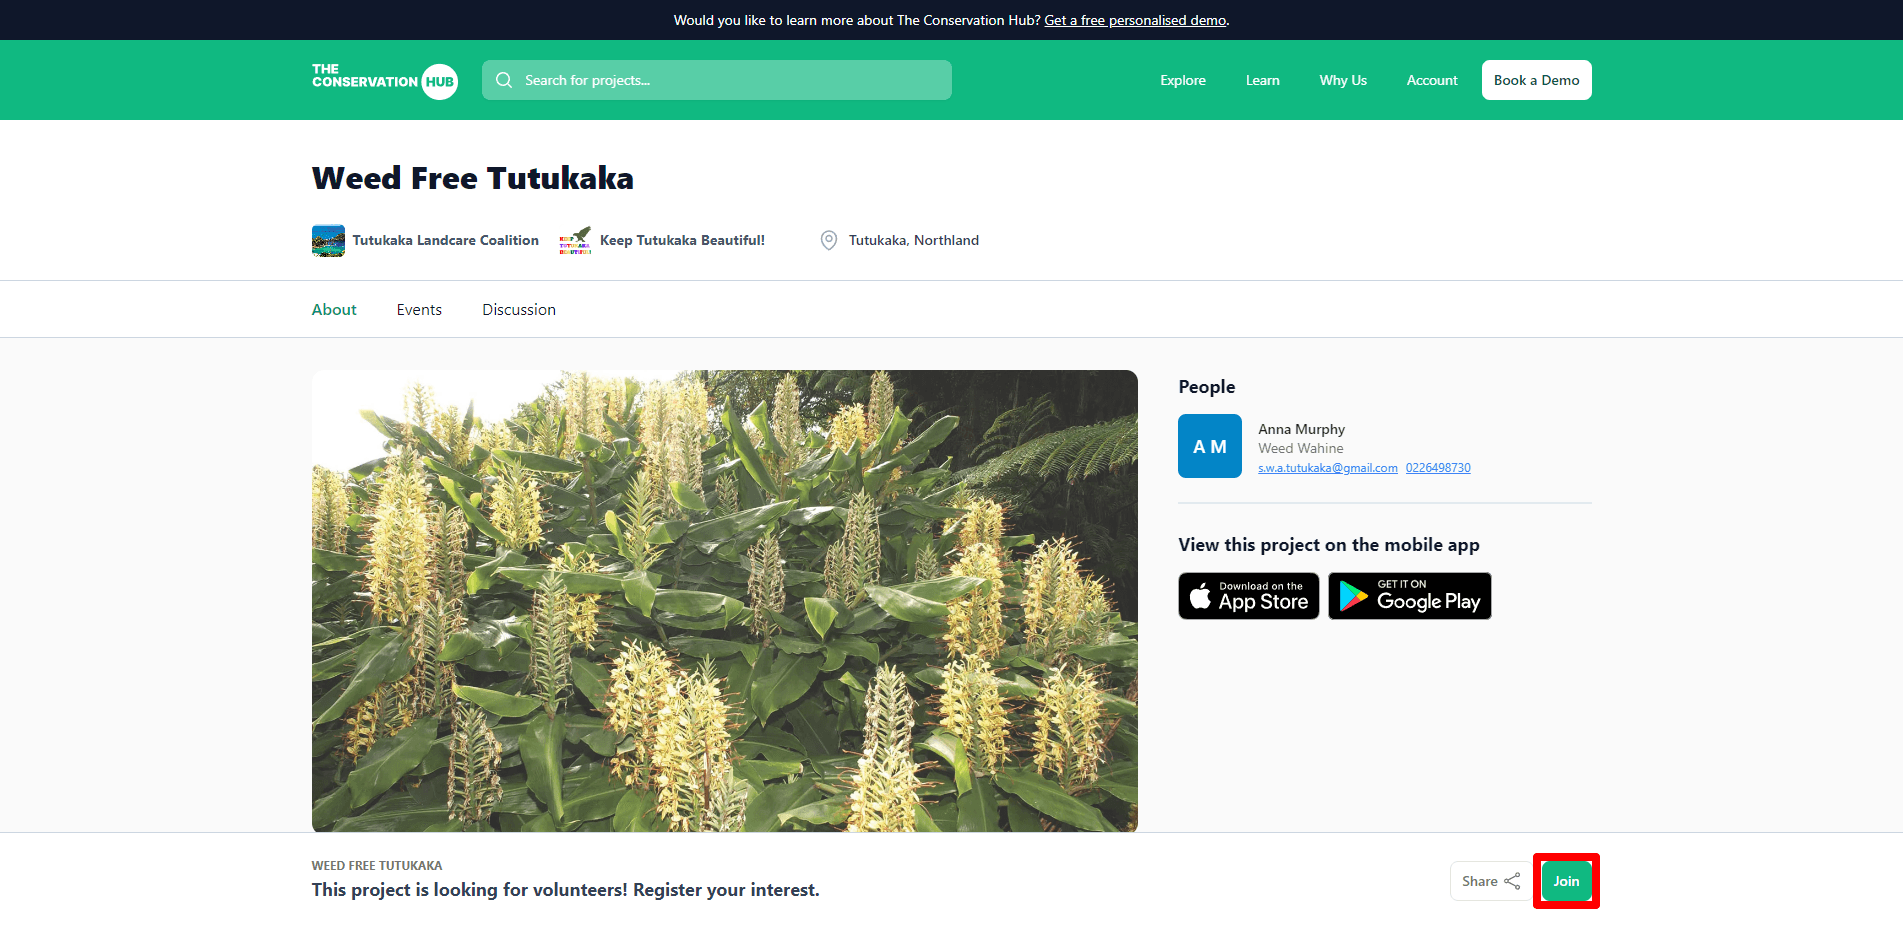
First, you need to find the project you would like to join. The easiest way to do that is to search for the project by name or location using the search bar at the top of the screen. Once you have found your project, click on it to open the project listing.
If you cannot find your project or group while searching, it may be unlisted. Please contact your group or project coordinator and ask them to add you (make sure to provide them with the same email address that you use to log into The Conservation Hub).
On the project's listing page, press Join in the bottom right of the screen:
And then accept the health and safety notice in the popup (if applicable), and press Confirm Submission. The group administrators will receive an email with your request, and you will receive an email notification once they have added you to the project and group.
Joining a public group
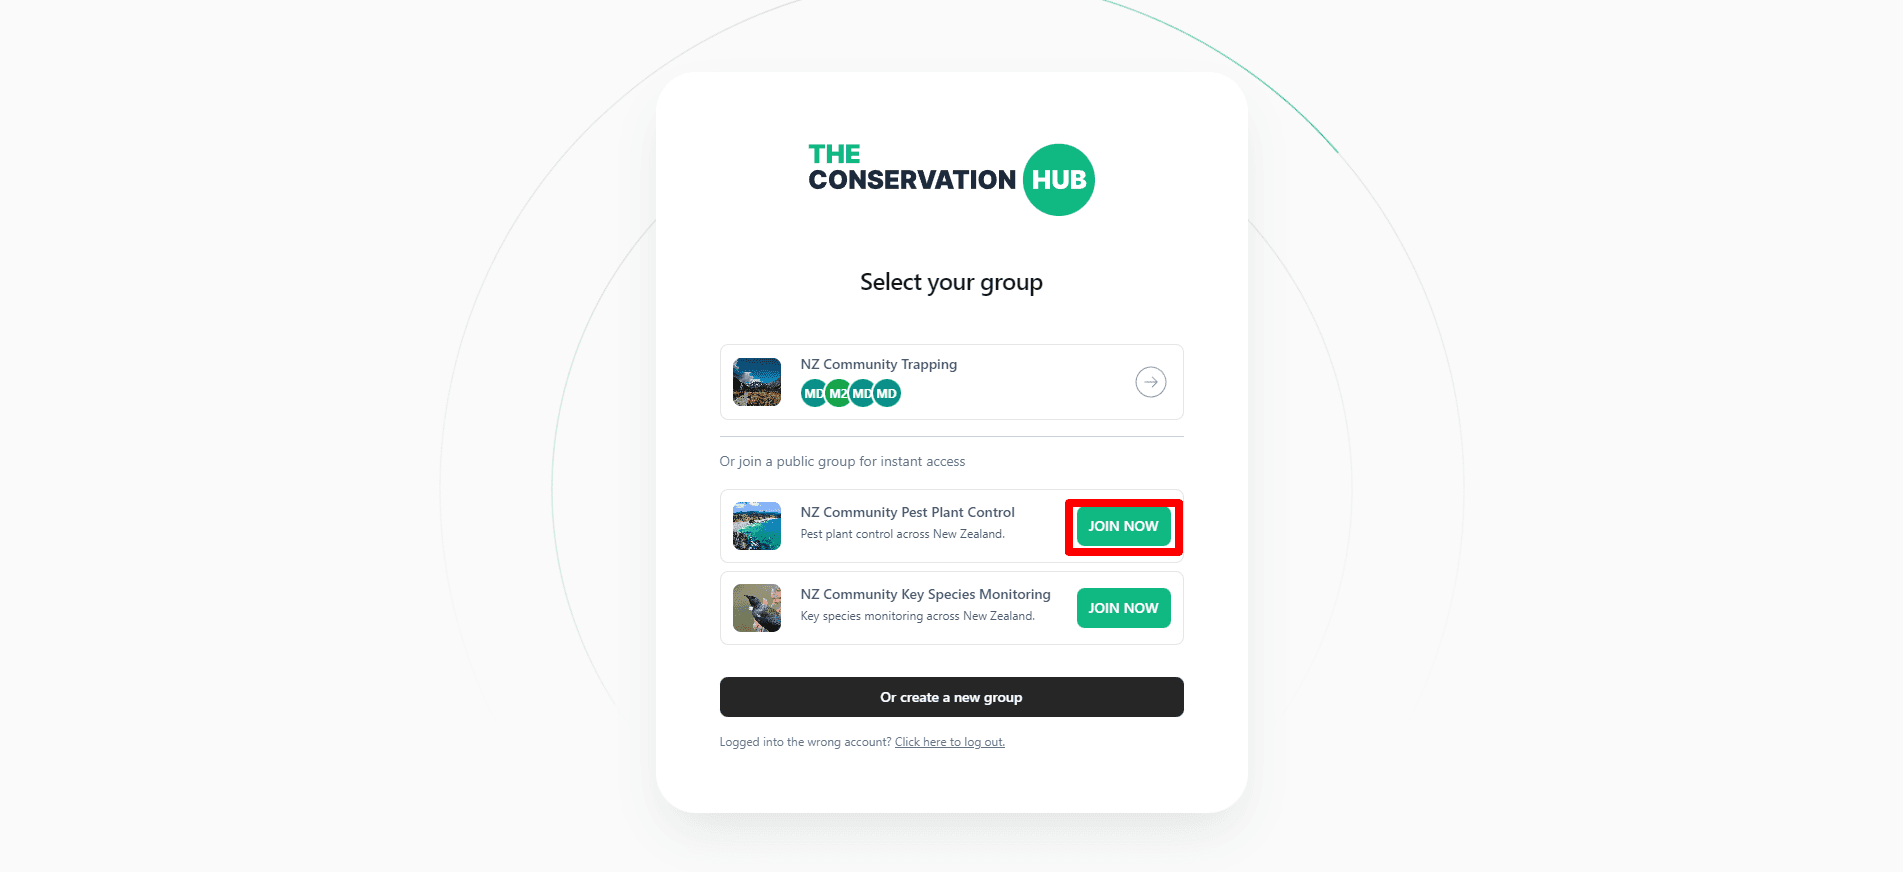
Public groups are available for anyone to join instantly without waiting for approval. If you are looking for an easy and free way to record your data as an individual, joining a public group gives you a place to record your data and engage with the community members.
You can see the public groups available at the bottom of the group select page, press Join Now to join a public group.
Creating a group
If you would like to create a new group for recording data, engaging with your community, or listing your conservation group/project on our website and mobile app, follow these steps:
- On the group select screen press Or create a new group at the bottom of the screen.
- Fill out the fields on the screen:
- Group name: This should be the name of your community group.
- Group tagline: This should a short description or mission statement for your group, e.g. "Helping to restore native habitats on the Tutukaka Coast"
- Group website (optional): If your group has a website, add it here.
- Tell us about your group: This is where you can provide more information about your group such as your goals, values, how you operate, your areas of interest, etc.
- Banner image: This will show as the thumbnail for your group. Upload a photo (ideally a landscape photo), or click one of the preset images below to use as your banner.
- Location: Select the approximate location where you operate as a group.
- Listed Contacts: If you would like to display people as point of contacts on your group page, add them here. If Show Email? if left unticked, people will contact the designated person using a contact form on the website.
- Listing: If you would like your group displayed on the website and mobile app, leave this checked. Otherwise if you would like to be hidden, uncheck this field. We recommend listing your group publicly so that you can find new users, and so that your current group members can easily find and request to join your group.
- Once you have filled out all of the fields, check the box at the bottom of the page to confirm you have read and agreed to our terms of service and privacy policy, then click Create new group to finish creating your group.
We review every group before their listing is enabled on the platform to make sure they comply with our terms of service. If after 2-3 business days your group is still not approved, please contact us for more information.